 |
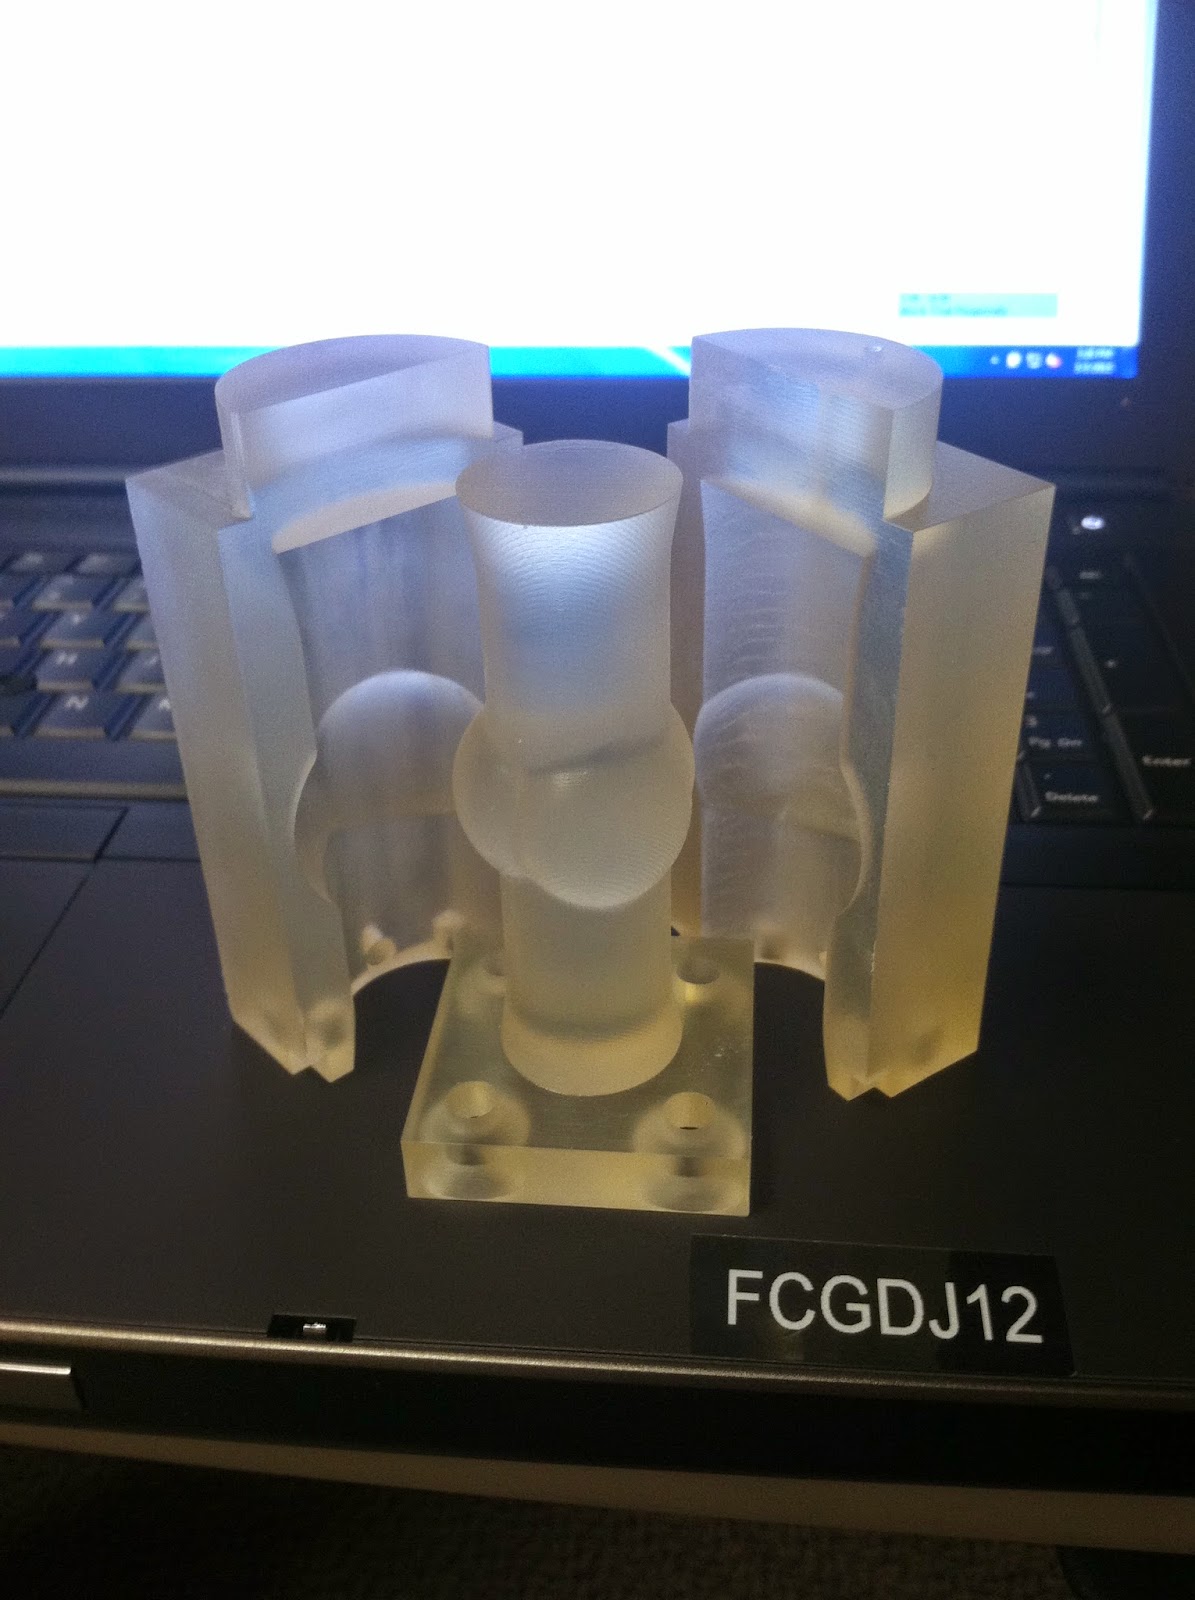
| Figure1 My SLA Printed mold! |
The first step in processing before we can inject is the sanding. I just used a Dremmel tool for this step and fine waterproof sandpaper. Though SLA printing is extremely accurate and the mold came out fairly concentric, I need to smoothen the walls. If the mold surface is too rough then the silicone might bind to the surface of the mold and make it difficult to de-mold or tear when separated. Additionally, the silicone tube will have clarity issues and will be difficult to see through.
 |
| Figure 2 |
The second step involves a chemical bath in isopropyl alcohol (IPA bath). This step will remove all the excess wax left on the mold and clean the surface of it.
Then the final step includes hole tapping. This is where I make the threads inside the holes on the bottom of the mold. I am going to do this so that the mold can be fastened together for the injection via screws.
**Hindsight note. After completing the processes above, I would recommend doing the bath before the sanding. After the IPA bath the mold was coated in a material that I ended up having to sand off. So to save time, give the mold the bath first**
 |
| Figure 3 Hole tapping |
Thank you for taking the time to read through one of my posts. Please comment if you have any questions or just want to be heard. I look forward to responding.
No comments:
Post a Comment